Gifts Made Simple
December 1, 2019 | by jessica robbins
This year, I chose three DIY projects that will be a quick and easy way to make some great gifts. These three projects have been trending online, and I can see why. They are so cute and super simple!
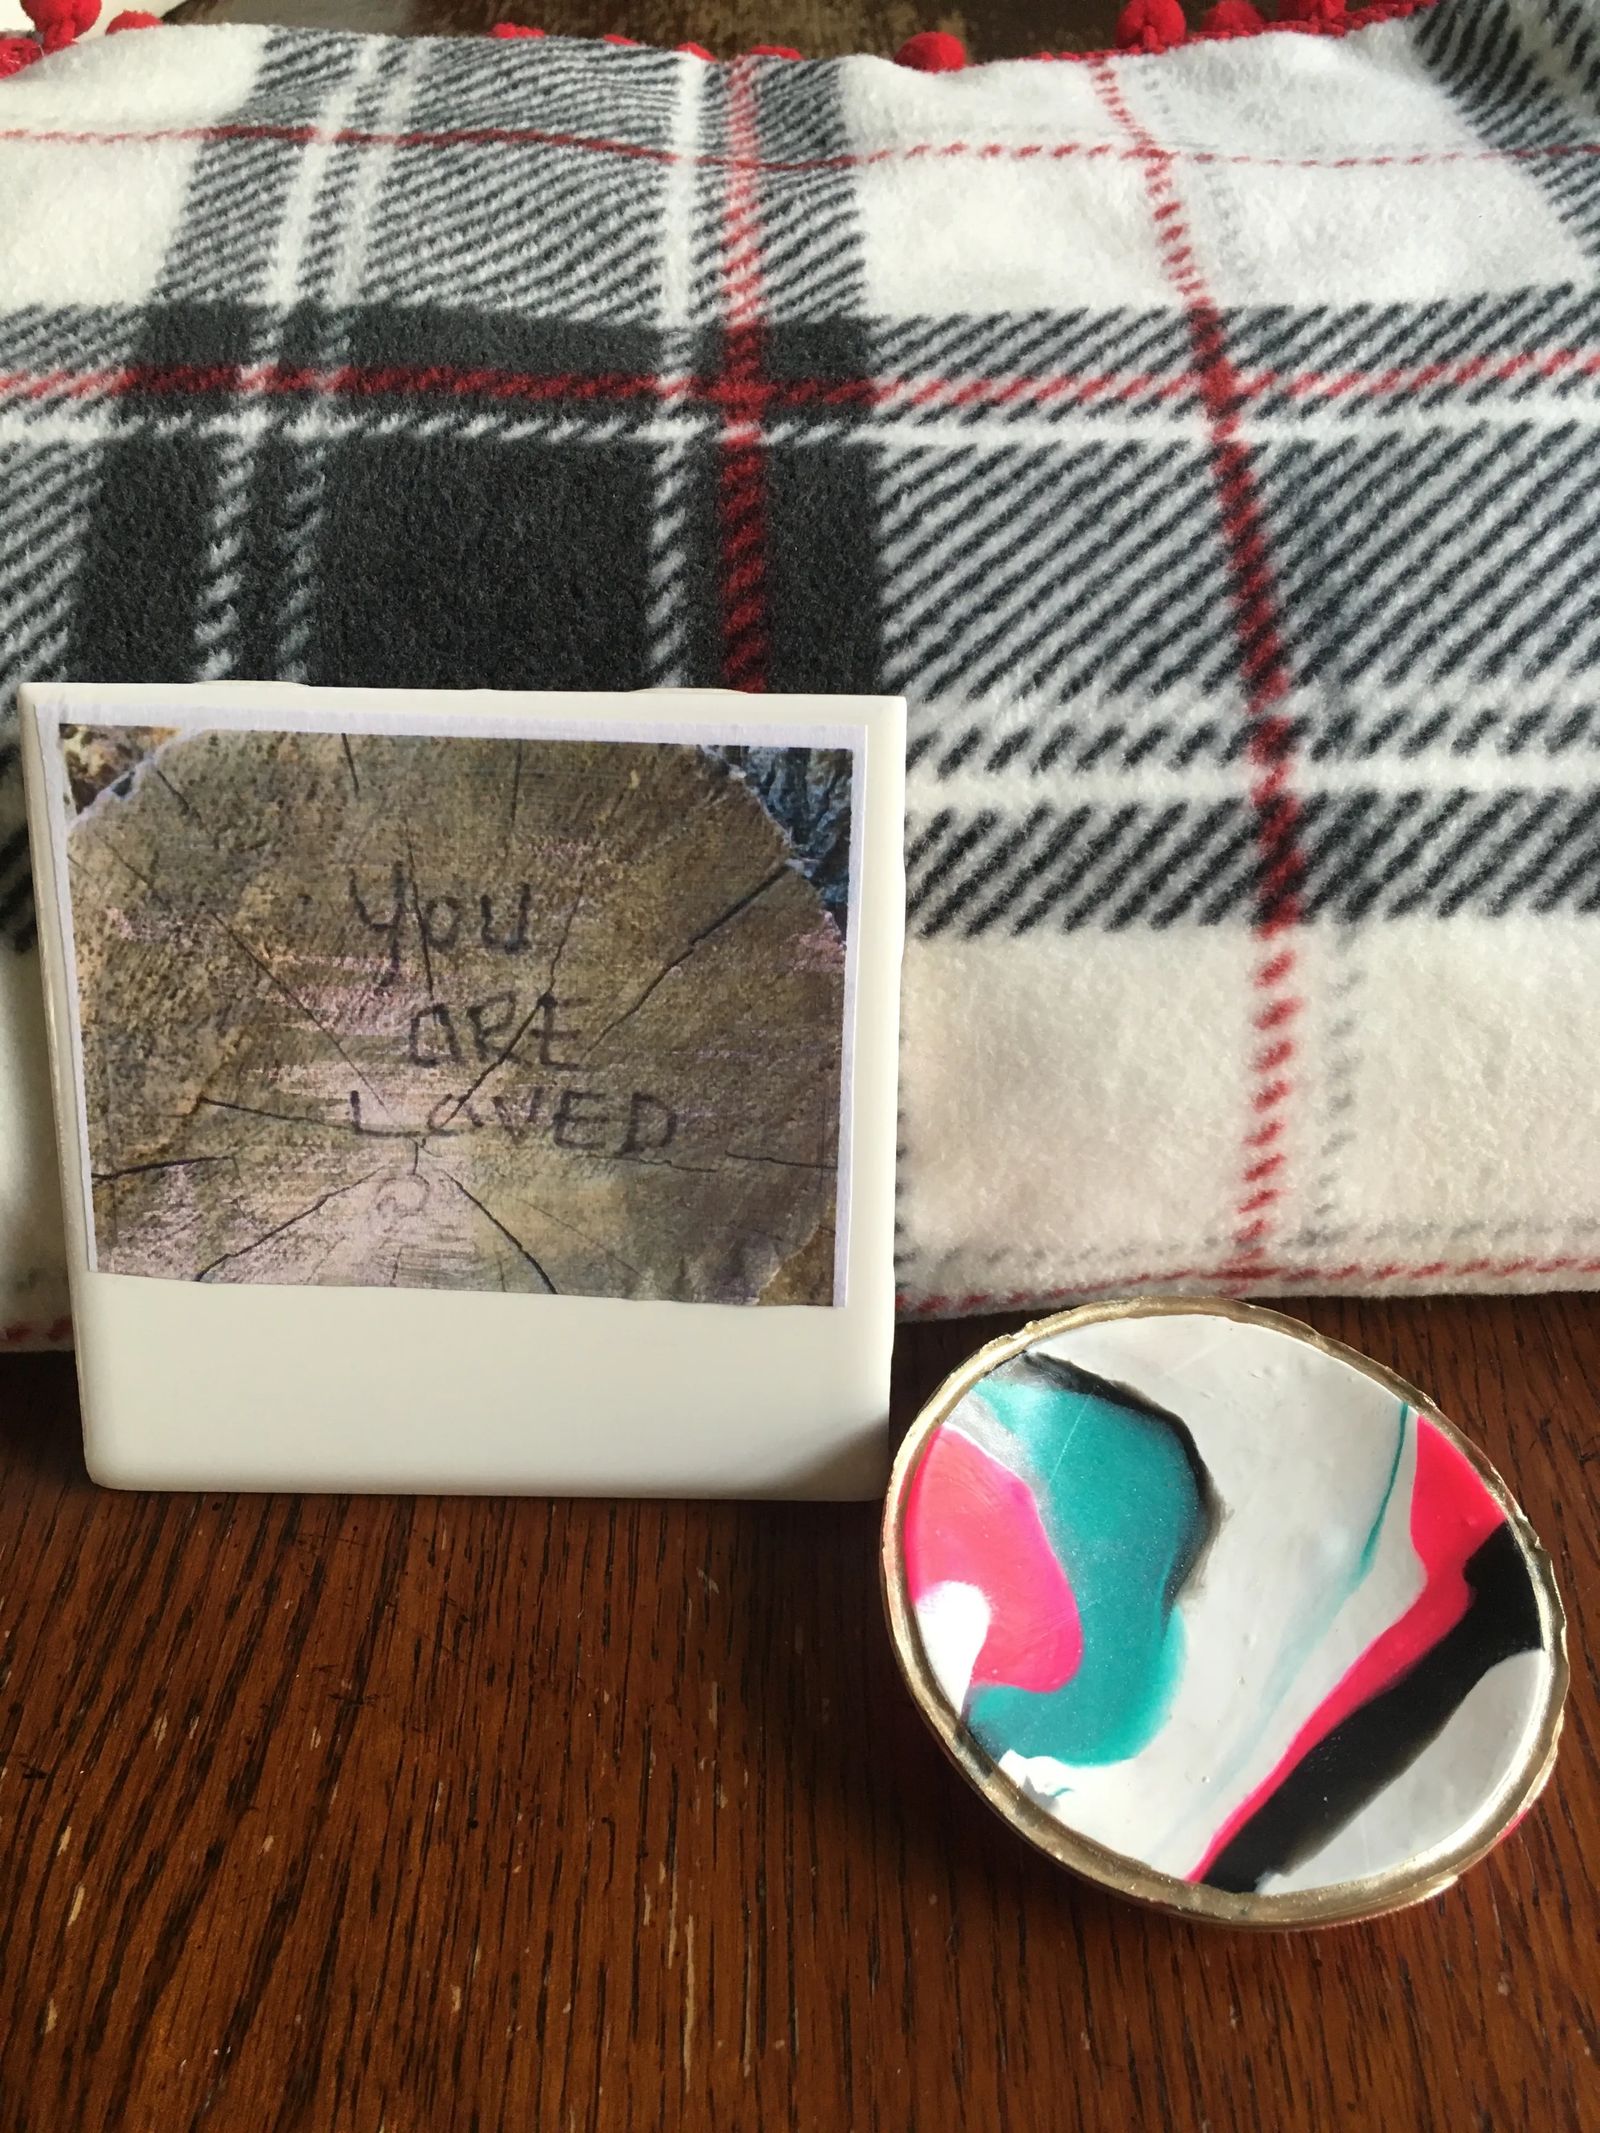
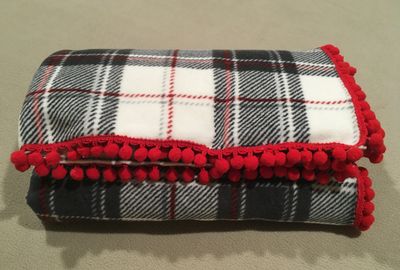
1. Flannel Blanket with a Twist
Supplies:
- Deluxe flannel fabric (1 ½ yard)
- Pompoms or trim of your choice (7 yards)
Directions:
JoAnn Fabric has an amazing deluxe flannel selection. I bought mine on sale for only $10.00 for a yard-and-a-half of fabric. Pick out the accent trim. I chose pompom trim because I am obsessed with it. Choose a color that will pop with your fabric selection. Sew your trim all the way around the flannel to finish the edge, and that's it.
It took me 20 minutes total!
Source: www.itsalwaysautumn.com
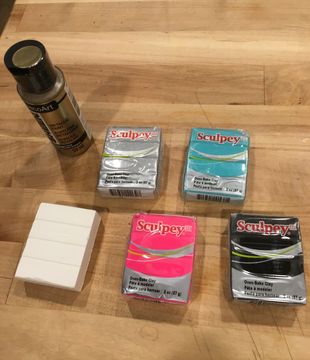
2. DIY Ring Dish
Supplies:
- 5 different colored 2 oz. oven-bake clay
- Utility knife
- Small, oven safe bowl
- Drinking glass
Directions:
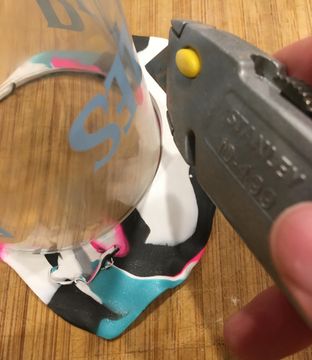
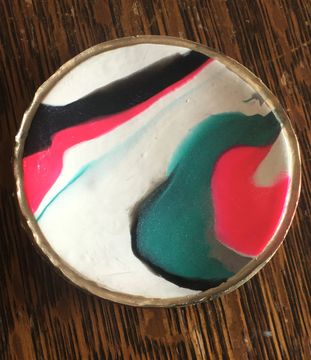
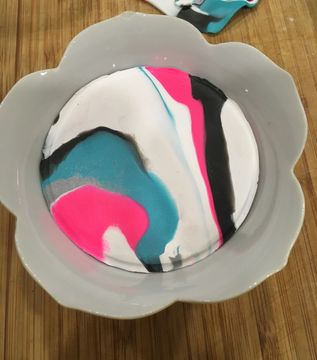
Cut a corner off of each color of clay. Roll a piece of clay with your hands and form a snake about 4” long. I made two white rolls, one black, one silver, one turquoise, and one pink. Start twisting all of the colors together. After this, form into one ball, trying to create a marbled effect. Next, use the side of the drinking glass to roll out the ball. Place the glass (open end down) on the rolled out clay. Using the utility knife, cut around the glass to form a circle. Set oven to 275 degrees and place the circle of clay in an oven-safe bowl that is slightly larger than the circle so that the clay will cave in the middle while baking. Check your clay instructions for specific oven temperature and baking time. Allow to cool and marvel at the super cute ring holder. Customize it by painting the edge or adding a stamp of your initial.
Source: www.abeautifulmess.com

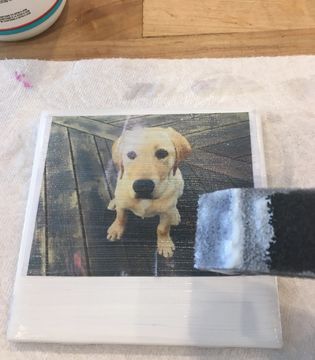
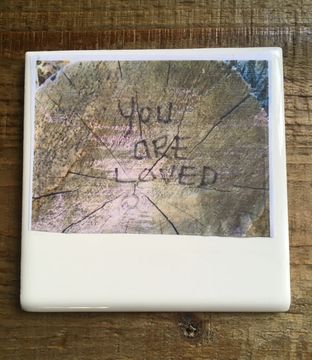
3. Cool Coasters
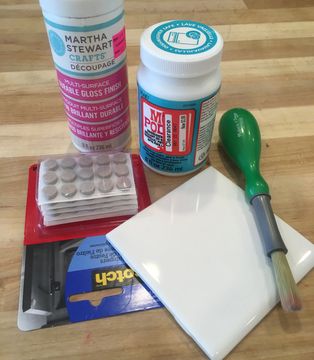
Supplies:
- 4- 4”x4” square white tiles
- 4 photos
- Mod Podge
- Sponge brush
- Martha Stewart Multi-Surface Durable Gloss Finish
- Felt adhesive circles
Directions:
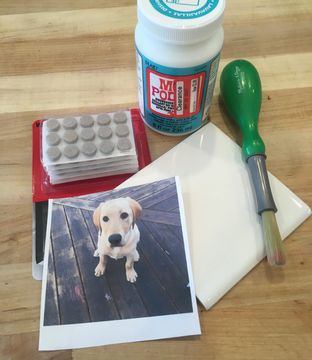
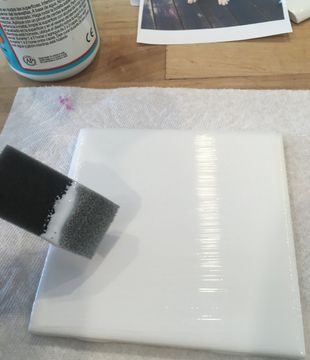
Choose four photos to use on the tile coasters. Format each photo to be 3.75” x 3.75” on printer paper. Print the pictures. Cut out the pictures, leaving a small border around the top, left, and right edges. Cut the bottom edge wider than the rest of the edges so that when you place the picture on the tile, it resembles a Polaroid picture. Spray photos with an aerosol hair spray. Let Dry. Paint a coat of Mod Podge on the tile and secure the photo to the tile. Apply a thick coat of Mod Podge to the top of the photo. Let dry, apply a second coat of Mod Podge, and allow to dry. Paint on the Durable Gloss Finish by Martha Stewart and allow to dry. Finish by placing one felt adhesive circle on each corner of the bottom of the tile.
Source: www.onegoodthingbyjillee.com
Originally printed in the December 2019 issue of Simply Family Magazine
Never miss an issue, check out SFM's digital editions here!