
Easy Bedroom Update: DIY Shabby Chic Lighted Garland
If you’re like me, you like to change up the home décor on a regular basis. Since I am a girly girl raising a girly girl in love with all things pretty and princess-y, I decided to add just a bit more charm to her bedroom. This simple shabby chic lighted garland makes the perfect nightlight for any princess’ castle. Choose fabrics to coordinate with your little lady’s room décor or personal style for an adorable custom lighted garland.DIY Shabby Chic Lighted Garland
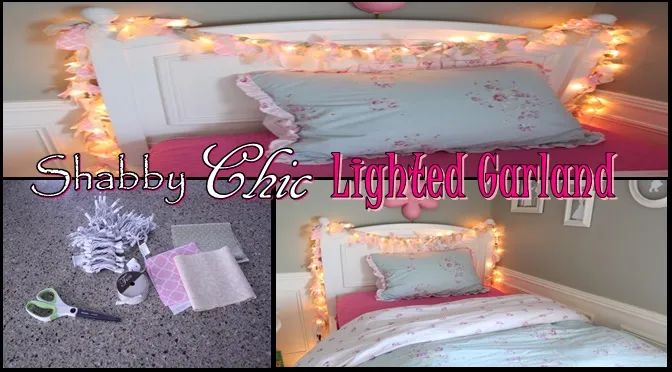
Simple Supplies-
- Fabric (3 coordinating 1/8 yard each) More for a fuller effect.
- String of 50-100 clear lights
- Scissors
- Spool of lace ribbon
Simple steps-
- Cut fabric into strips. Mine were approximately 1” x 3”
- Cut lace ribbon to the same length as the fabric strips.
- Tie strips in knot around light strand. (I tied three fabrics and lace ribbon between each light more could be used for a fuller look)
- Plug it in and enjoy the ambiance.
This project is super simple and can be made in a matter of minutes. I promise your mini me will love turning them on each night before bed
Fun variations to mix it up a bit-
~Using the same method, pick out bright patterned fabrics to use as at a Birthday party or backyard BBQ.
~How cute would it be to make the fabric strips longer, use multiple light strands and use it as a photography background?
~Tea parties would be the perfect opportunity to create this!