25 Handmade Gifts of Christmas (Part 1)
With Christmas just around the corner, it’s time to start thinking about coming up with holiday gifts for all those special people in your life—your children’s teachers, your friends and neighbors, the babysitter, your hair stylist…What better way to say Merry Christmas and thank you for all you do then to present each and every one of these hardworking individuals with a heartfelt, handmade gift? And because I know we are all busier than the big man in red this time of year, your very own Simply Family holiday helper (that would be me) has rounded up the best of the web, 25 handmade gift ideas—complete with tutorials, pictures, and packaging ideas. Here are the first five gifts. Move over Martha Stewart, let’s get crafting!
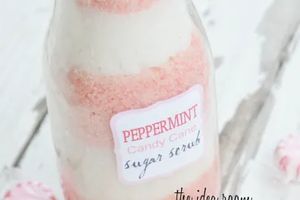
Oreo Cookie Suckers
(Adapted from www.howdoesshe.com)
What You Will Need: Oreos, melting chocolate, sprinkles, sucker bags, sucker sticks, and bag ties.
To Make: Dip the end of a sucker stick into the melting chocolate. Open an Oreo, and gently press the chocolate covered stick in the center of the cookie frosting. Put the cookie back together and press gently. Let it dry for a few minutes, and then dip both sides of the cookie into the melted chocolate. Place on wax paper, and get decorating (with the sprinkles of course)! This would be a great time to involve the kiddos. Feeling brave? Try drizzling the cookie pops with melted chocolate from a Ziploc bag. Let the suckers dry completely, then package them in sucker bags with cute little twist ties and you are in business!
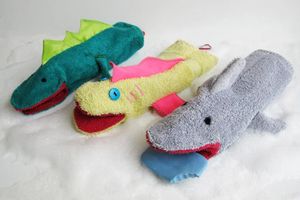
Handmade Ornaments
(Adapted from http://ayellowbicycle.blogspot.com)
What You Will Need: glass ball ornaments and acrylic paint in the colors of your choosing.
To Make: So easy! Add the paint to the balls drop by drop, swirl, and tap the sides of the ornament to encourage the desired effect. Allow to dry for about an hour. Now your beautiful, handmade ornaments are ready to gift!
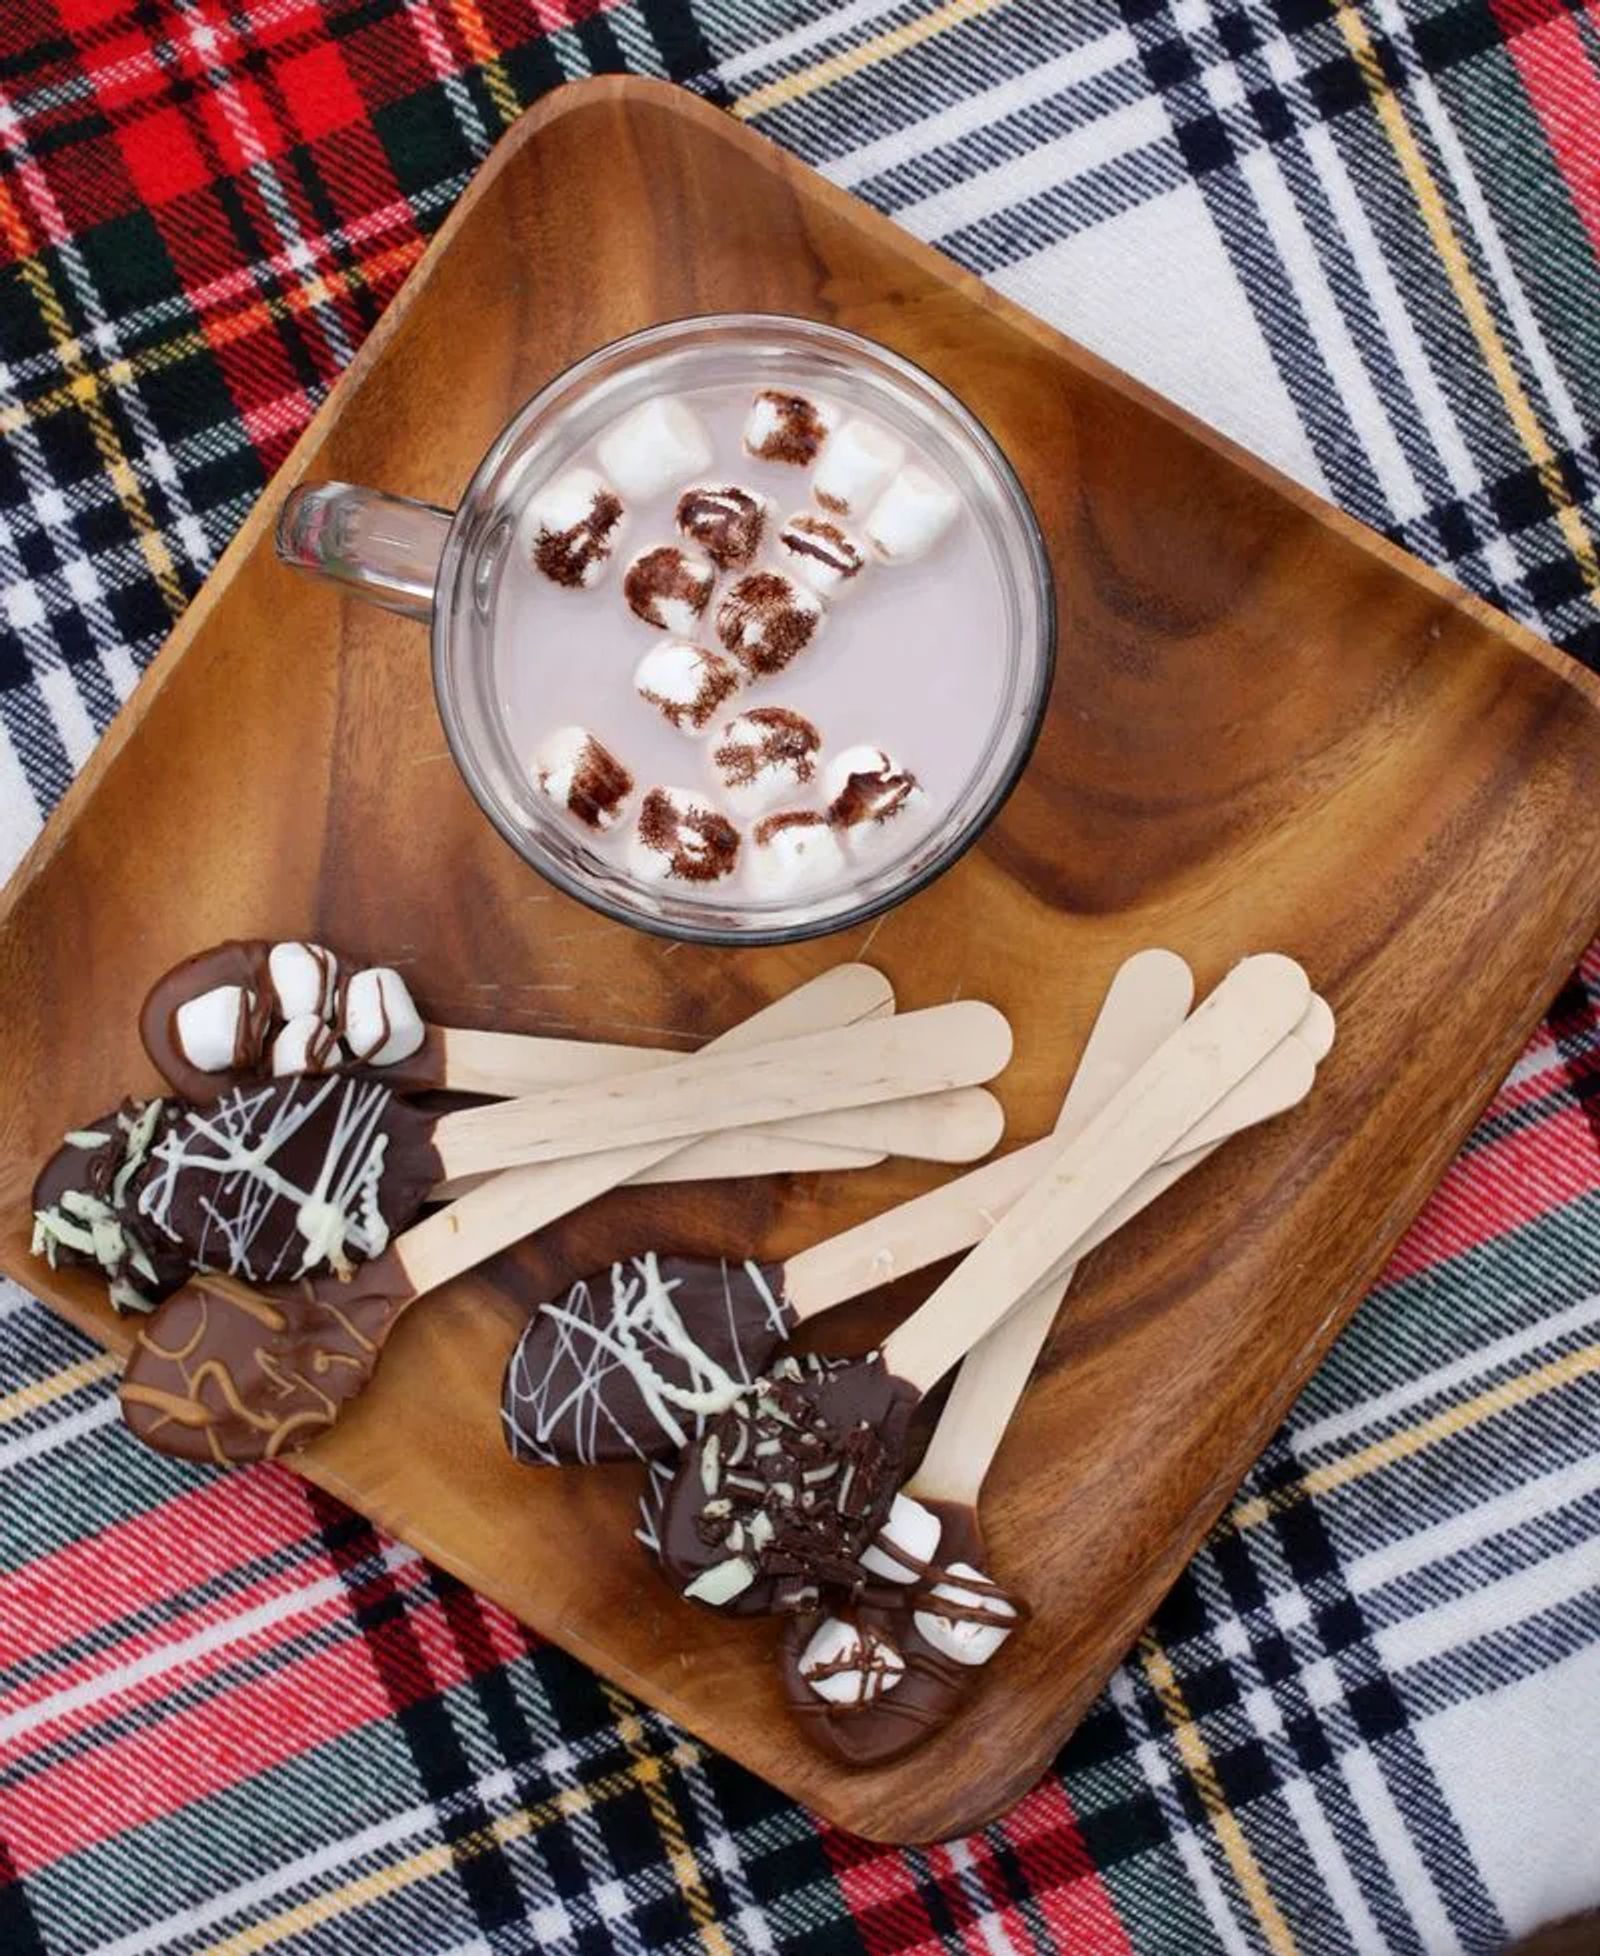
Hot Chocolate Spoons
(Adapted from www.abeautifulmess.com)
What You Will Need: wooden spoons, a few different chocolates, candies, and marshmallows.
To Make: Melt your chocolate (either on the stove top or in the microwave). Dip the spoons into the melted chocolate, and then top with various flavor combinations. Here are a few flavor suggestions from the blog’s author: chocolate with marshmallows, double chocolate (milk or dark chocolate dipped with white chocolate drizzles), chocolate mint (topped with Andes mints), and chocolate peanut butter (milk or dark chocolate dipped with melted peanut butter drizzles). Package individually, or deliver with a Christmas mug!
Cowgirl Cookies in a Jar
(Adapted from www.bakerella.com)
What You Will Need: a mason jar, 1 1/3 cups all-purpose flour, 1 teaspoon baking powder, 1 teaspoon baking soda, ¼ teaspoon salt, 1 cup cooking oats, ¾ cup M&Ms (color of your choice), ¾ cup semi-sweet chocolate chips, ½ cup brown sugar packed, ½ cup white sugar, 1/3 to ½ cup chopped pecans.
To Make: Layer the ingredients into the mason jar. (Start with the flour, baking powder, baking soda, and salt. Next add the oats, M&Ms, chocolate chips, brown sugar, white sugar, and finally the chopped pecans.) Click here for directions on creating packaging identical (including printable sticker patterns) to what is pictured here. You will also find the instructions for baking the cookies. A Texas girl myself, I will probably be gifting a few of these this Christmas!
DIY Tile Coasters
(Adapted from http://blueprintcrafts.com)
What You Will Need: a set of tiles (check your local hardware store), scrapbook paper, Mod Podge, clear acrylic spray, and felt pads for the bottoms of the “coasters”.
To Make: Measure and cut the scrapbook paper to fit your tiles. Clean and dry your tiles, then add a thin layer of Mod Podge. Apply the scrapbook paper, pressing firmly to smooth out any air bubbles. Allow the tiles to dry for about 15 minutes, and then apply two to three more coats of Mod Podge, allowing each coat to dry adequately. Once they are completely dry, move the tiles to a well-ventilated area and apply two coats of the clear acrylic spray. Add the felt pads to the bottoms of the coasters (one in each of the four corners), and you are done! Package together with some ribbon or twine.