How to Make Tissue Paper Pom Poms and Name Art
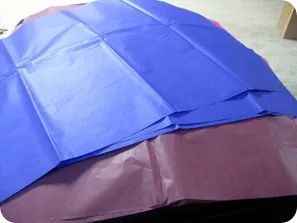
Tis the season for baby showers! I was recently privileged enough to co-host a baby shower for a dear friend and had so much fun making the decorations. Tissue paper pom poms are so popular now so I had to give them a try. After some research online, these are the instructions that worked best for me for the small size of pom poms.Start with tissue paper. You will need 3 sheets per pom pom. I just used the regular-size multi-color package from Michaels.
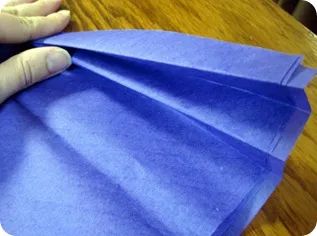
Fold the 3 sheets in half length wise and fold accordion style. Don’t worry about the ends not matching up.
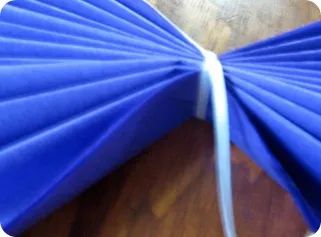
Tie the middle with a ribbon and leave extra length for hanging the pom pom.
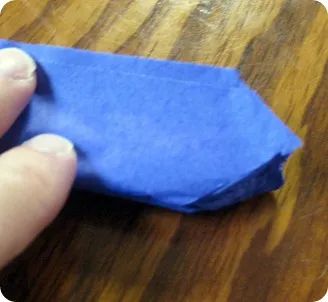
Trim the ends. I just made a simple V-cut but any style will work.
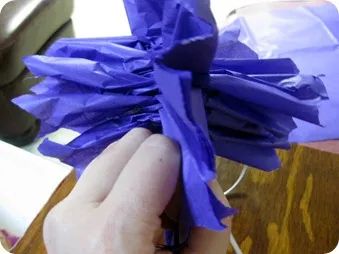
Start puffing away! I started with the middle sheet and alternated sides. Work this way with the first end and repeat for the other end of the tissue paper. Be sure and pull and fluff and puff away but don’t over work the tissue paper. If you tear the paper, don’t worry, it won’t show up too much![]() .
.
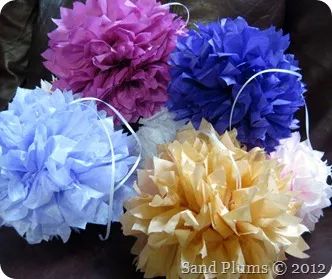
After the first pom pom, these went really fast and were a perfect project to do while watching a little TV. They were such a hit at the shower and the hostess took them home to decorate her baby’s room.
My next baby shower project was some name art. I absolutely fell in love with Char’s creation.
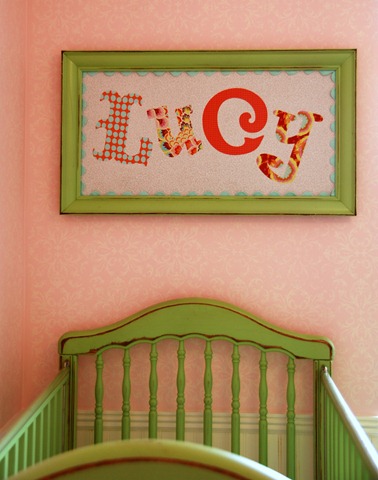
If you don’t follow Char’s blog, Crap I’ve Made, you are missing out. She is just great!
I found the 11x20 frame at Michael’s and purchased some batik quilt squares from The Bernina Sewing Center. The background fabric is white with tiny off-white flowers that I purchased at Hobby Lobby. The first step was to adhere some interface onto the fabric. I used Silhouette’s Clean Cut interface. It is designed for projects like this that will not be sewn. After ironing, the interface looks like a thin piece of plastic.
The next step is cutting out the letters, I tried and tried to mix up the font for my name art as Char had done but I just could not make it work (maybe because of the size of the name and maybe because I am too OCD). I decided to stay with the Oliver font for the whole name. I used my Silhouette machine to cut the letters but you could do the same with a trusty pair of scissors.
I cut paper templates of the letters until I had the perfect size then I committed to cutting the fabric letters. After the fabric letters were cut, I ironed them down to the white backing fabric. To get a straight line, I marked on one of the frame’s filler papers with a straight line and marks for each letter and set the paper behind the white fabric where I could still see it as a guideline. This step saved my bacon as I have a tendency to just “eye ball it” and then having to curse and redo the project.
That was it. After ironing, I just set the fabric in the frame!
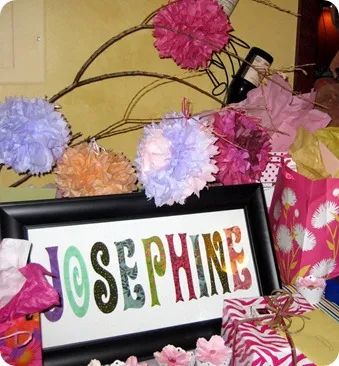
Here it is with the pom pom decorations at the shower!

