
DIY: Large, affordable art
Originally printed in the pages of Simply Family Magazine’s November 2017 issue.Never miss an issue, check out SFM’s digital editions, here!
photos by Amanda Bowe
Thanksgiving is at the end of the month and November becomes a month of thanks. What better time to show off the people you’re most thankful for with big, beautiful, and budget-friendly art? Using only a handful of supplies and roughly half an hour of working time, filling a wall without emptying your wallet has never been easier.
The print:
Before gathering your supplies, first look through your photos and select your favorite(s). If you have photo editing software, open the image, and turn it black and white. Feel free to adjust the color values to lighten or darken the image. Once you’re happy, adjust your image to the size you’d like printed and save as a .pdf file onto a USB drive.
*Note, most print shops have a max height, so keep one dimension under 36 inches, but you can go as wide as you’d like. Print this image as a black and white Large Format or Engineer print for about 75 cents per square foot.
With your print ready, gather the following supplies:
- Two pieces of ¼ inch thick, 2 inch wide, by 48 inch long poplar boards, available at home improvement stores
- Leather cording, by the spool, at craft stores
- Paint and a brush OR stain, a scrap of lint-free cloth, and latex gloves
- A staple gun with ¼ inch staples
- Masking tape
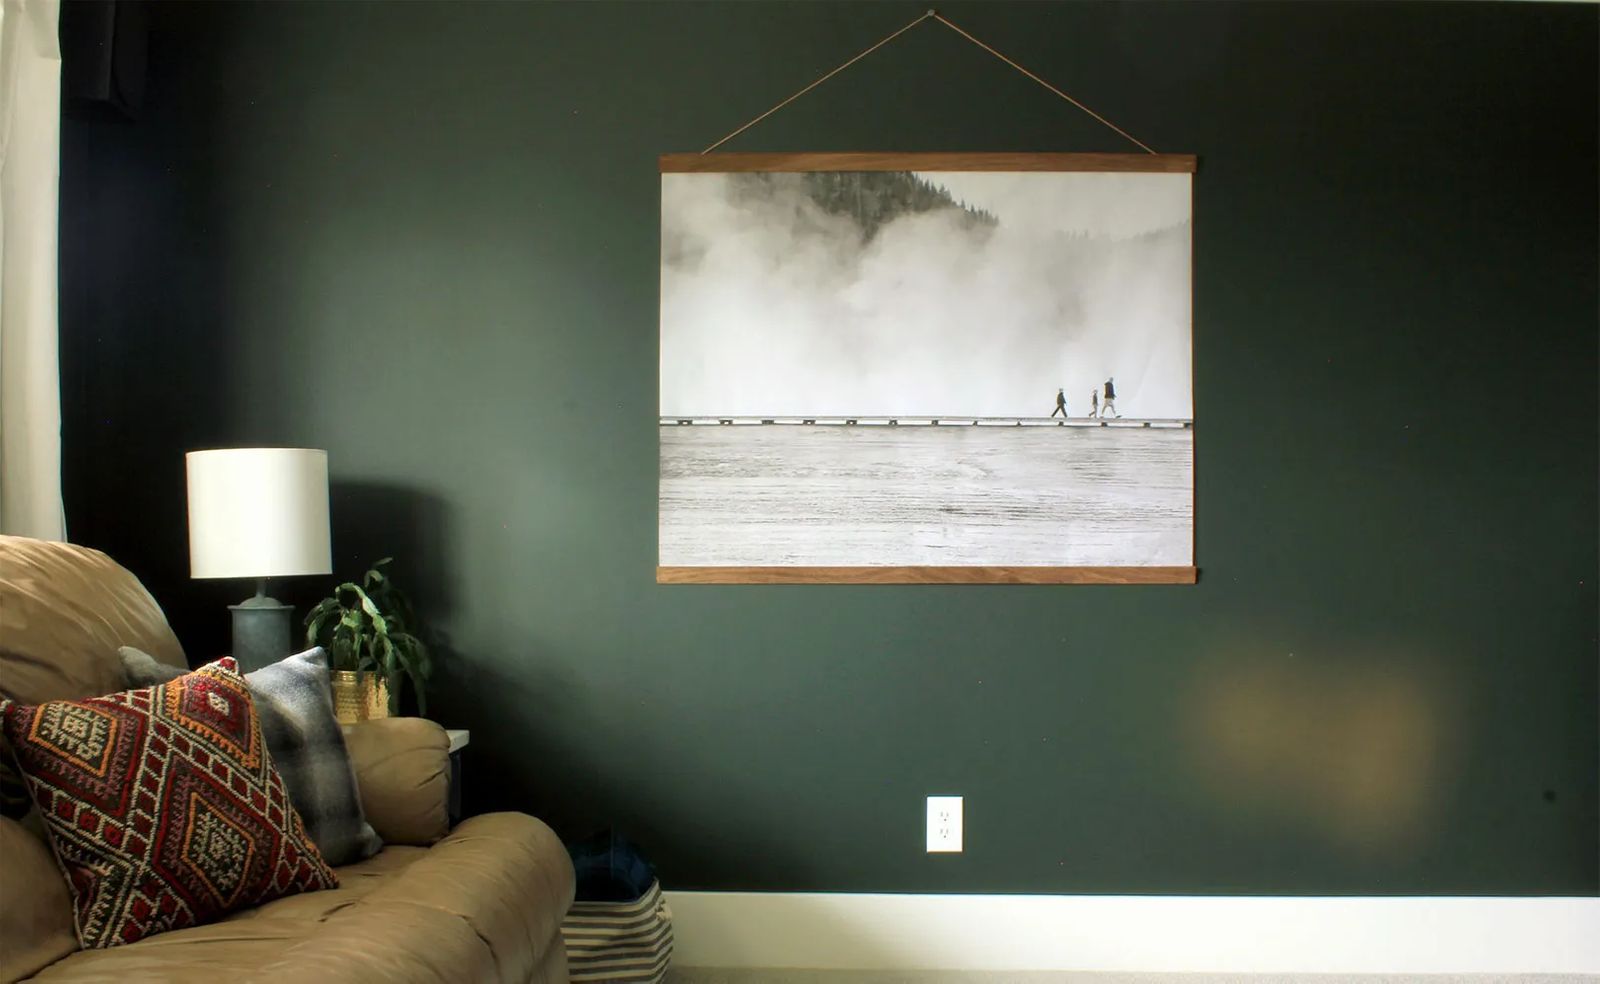
To create the ‘frame,' paint or stain the poplar boards the desired color and allow to dry. While the boards dry, find a large flat surface to work on and use a utility knife and straight edge to trim any excess paper off the print. Next, place the print face down, tucking one wooden board under the top edge of the paper. Overlap the wood and paper about an inch, making sure the paper is evenly spaced with the exposed edge of the board. Once in place, tape occasionally to prevent shifting. Secure the art to the board by stapling every four to five inches and repeat using the other strip at the bottom of the paper.
For easy hanging, cut a length of leather cording long enough to hang at the desired height. Tie a tight knot at both ends, then staple just above the knot. Hang from a nail, and you have nearly instant art that's cheap enough to update or rotate out as the mood strikes. You can thank me later.
about the author...Amanda Bowe is a mom to two boys, a DIYer, crafter, and thrift store addict. She is also the author of Our Humble Abode (ourhumbleabodeblog.com), a blog dedicated to all things home improvement and DIY.